IOTA Gas Station Workshop
In this hands-on workshop you will build Spark Mini, a fully functional, decentralized microblogging platform where anyone can post messages without owning a single token or paying gas fees.
Spark Mini is a sleek, gas-free microblogging platform built on IOTA testnet. Think Twitter, but with zero fees, no token required, and every post permanently stored on-chain. Using the IOTA Gas Station, the dApp operator quietly pays all transaction costs, so anyone with a wallet can simply connect, type a message, and post instantly, no faucet, no balance, no friction. In this workshop, you’ll build the entire thing from scratch: run your own Gas Station, fund it, and create a beautiful React frontend that delivers real, immutable, on-chain sparks with a single click.
Why IOTA Gas Station?
In traditional blockchains, users must buy tokens, fund wallets, and pay gas fees for every action, like posting a message. This creates massive friction, preventing adoption. IOTA Gas Station solves this by letting dApp operators cover fees, so users focus on creating content. Spark Mini demonstrates this with a Twitter-like platform: posts are immutable on IOTA testnet, but completely free.
Spark Mini Sponsored Transaction Flow
Learning Objectives
By the end of this workshop, you will:
- Understand sponsored transactions and how the Gas Station enables gas-free UX.
- Deploy a local Gas Station and fund it for sponsorship.
- Build a React frontend with IOTA dApp Kit for wallet connection and UI.
- Implement on-chain posting using the IOTA TypeScript SDK.
- Integrate the full sponsored flow: reserve gas, user sign, Gas Station co-sign/submit.
- Test and debug your dApp with real testnet transactions.
Prerequisites
Before starting, ensure you have:
- Basic Knowledge: Familiarity with JavaScript/TypeScript, React, and command line. No prior IOTA experience needed.
- Tools:
- Node.js (v18+) and npm/yarn.
- Git.
- Docker Desktop (for Gas Station deployment).
- VS Code (recommended).
- Hardware: Mac/Linux/Windows with 4GB+ RAM.
If you're missing anything, install now:
Part 1 – Project Setup & Architecture
We'll build a full-stack dApp:
- Frontend (
spark-mini-frontend): React + Vite + dApp Kit for UI, wallet connect, and tx submission. - Gas Station (official Docker): Sponsors fees; no custom backend needed for this workshop.
- On-Chain Logic: Uses a demo Move package for storing posts (immutable on testnet).
1.1 Create the Workshop Folder
mkdir spark-mini-workshop && cd spark-mini-workshop
This creates a dedicated folder for the entire workshop. All code and services will live here.
1.2 Clone the IOTA Gas Station Repository:
git clone https://github.com/iotaledger/gas-station
1.3 Navigate to the Docker Directory and Generate the Config File:
cd gas-station/docker
../utils/./gas-station-tool.sh generate-sample-config --config-path config.yaml --docker-compose -n testnet
Expected Output:
Generated a new IOTA address. If you plan to use it, please make sure it has enough funds: '0xc30e6509054a6399d54703de6f028dc4dc6648bd0d389b153dd02275dc846be2'
This is the address that will pay for everyone’s transactions.
1.4 Fund the Gas Station Sponsor via Faucet
Follow the steps on this page to get test tokens using either the IOTA CLI, cURL, or the TypeScript-SDK.
1.5 Start the Gas Station
GAS_STATION_AUTH=supersecret123 docker compose up
Set Up Authentication: Define a bearer token for the Gas Station API using the GAS_STATION_AUTH environment variable. If set, this token must be provided in all requests to the Gas Station, except for the / and /version endpoints. It can also be omitted to disable default authentication, e.g. if one wants to add a custom authentication to the server. In this case, requests against the Gas Station can be made without an authentication token.
Expected Output:
When the gas station starts, it will perform the initial coin-splitting procedure. You should see logs similar to the following:
2024-12-16T17:12:49.369620Z  INFO iota_gas_station::gas_station_initializer: Number of coins got so far: 392
2024-12-16T17:12:49.369690Z  INFO iota_gas_station::gas_station_initializer: Splitting finished. Got 392 coins. New total balance: 39615604800. Spent 384395200 gas in total
2024-12-16T17:12:49.381289Z DEBUG iota_gas_station::storage::redis: After add_new_coins. New total balance: 39615604800, new coin count: 392
2024-12-16T17:12:49.381378Z DEBUG iota_gas_station::storage::redis: Releasing the init lock.
2024-12-16T17:12:49.382094Z  INFO iota_gas_station::gas_station_initializer: New coin initialization took 0s
2024-12-16T17:12:49.383373Z  INFO iota_gas_station::rpc::server: listening on 0.0.0.0:9527
Explanation:
We are deploying the official, production-ready Gas Station using Docker. The generate-sample-config tool creates a testnet-ready configuration. The environment variable sets the auth token to supersecret123.
1.6 Verify the Gas Station is Healthy
curl http://localhost:9527
Expected output:
{"OK"}
Explanation:
A successful response confirms the RPC server is listening on port 9527 and ready to sponsor transactions, but make sure the sponsored address is funded.
1.7 Create the React Frontend
# 1. Go back to the workshop root folder
cd ..

# 2. Create the React frontend (Vite + TypeScript template)
npx create-vite@latest frontend --template react-ts

# 3. Enter the frontend folder
cd frontend

# 4. Install default dependencies (Vite, React, etc.)
npm install

# 5. Install IOTA and workshop-specific packages
npm install @iota/dapp-kit @iota/iota-sdk @tanstack/react-query axios
Explanation:
We scaffold a modern Vite + React + TypeScript project and install:
- @iota/dapp-kit – wallet connection and hooks
- @iota/iota-sdk – transaction building
axios– HTTP calls to the Gas Station
1.8 Start the Dev Server
npm run dev
Explanation:
Your frontend is now live at http://localhost:5173. You’ll see a blank page for now, that’s expected.
Part 2 – Wallet Connection with dApp Kit
2.1 Replace src/main.tsx (Providers)
// src/main.tsx
import React from 'react';
import ReactDOM from 'react-dom/client';
import App from './App.tsx';
import {
  createNetworkConfig,
  IotaClientProvider,
  WalletProvider,
} from '@iota/dapp-kit';
import { getFullnodeUrl } from '@iota/iota-sdk/client';
import { QueryClient, QueryClientProvider } from '@tanstack/react-query';
import '@iota/dapp-kit/dist/index.css';

const { networkConfig } = createNetworkConfig({
  testnet: { url: getFullnodeUrl('testnet') },
});

const queryClient = new QueryClient();

ReactDOM.createRoot(document.getElementById('root')!).render(
  <React.StrictMode>
    <QueryClientProvider client={queryClient}>
      <IotaClientProvider networks={networkConfig} defaultNetwork="testnet">
        <WalletProvider>
          <App />
        </WalletProvider>
      </IotaClientProvider>
    </QueryClientProvider>
  </React.StrictMode>
);
Explanation:
These providers are mandatory for any dApp Kit hook to work (useWallets, useSignTransaction, etc.). The CSS import gives us the beautiful default ConnectButton styling.
2.2 Basic UI with ConnectButton
// src/App.tsx (replace everything)
import React from 'react';
import { ConnectButton, useWallets } from '@iota/dapp-kit';
export default function App() {
const wallets = useWallets();
const connectedWallet = wallets.find(w => w.accounts.length > 0);
const address = connectedWallet?.accounts[0]?.address;
return (
<div style={{ maxWidth: 600, margin: '40px auto', textAlign: 'center', fontFamily: 'system-ui' }}>
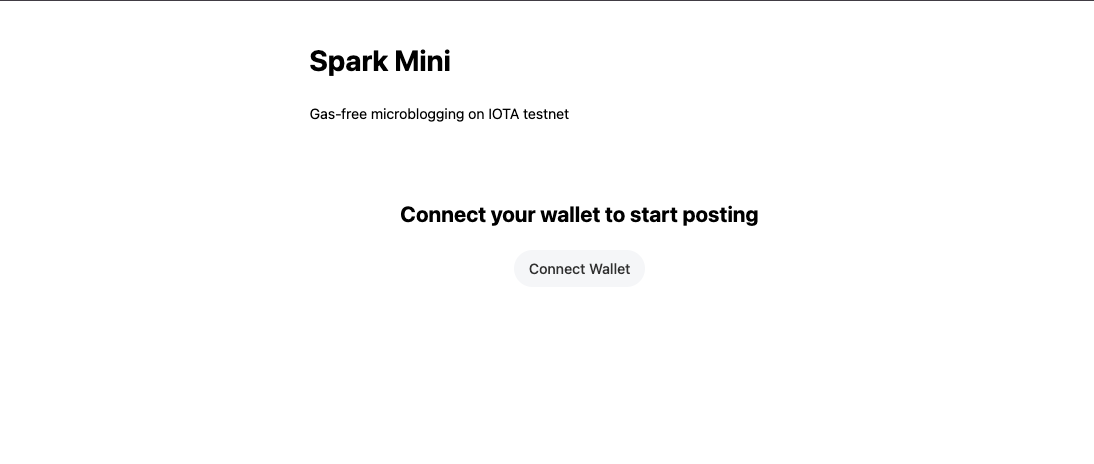
<h1>Spark Mini</h1>
<p>Gas-free microblogging on IOTA testnet</p>
{!connectedWallet ? (
<>
<h2>Connect your wallet to start posting</h2>
<ConnectButton />
</>
) : (
<p>Connected: {address?.slice(0, 12)}...{address?.slice(-8)}</p>
)}
</div>
);
}
Explanation:
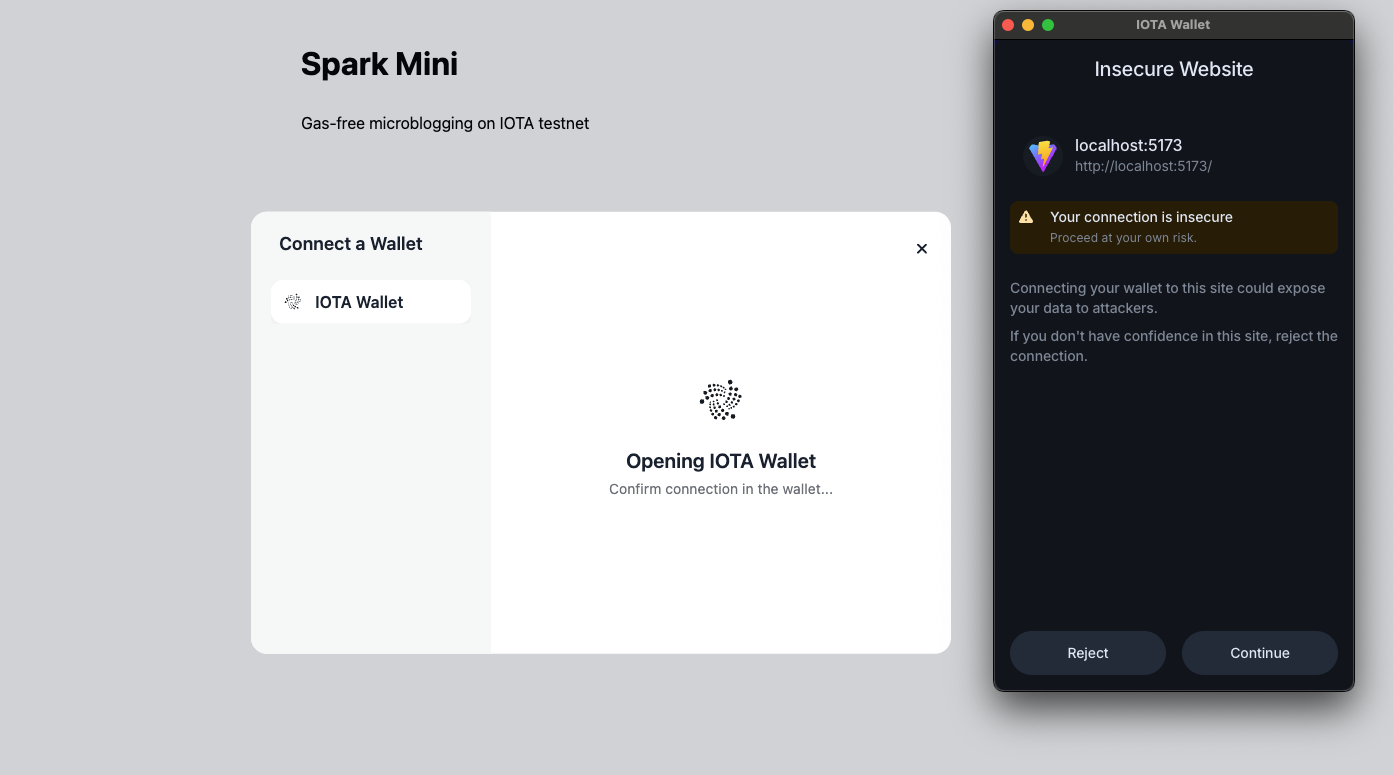
useWallets returns all detected wallets. When a user connects, accounts.length > 0. The ConnectButton automatically opens the official modal and handles all wallet standards.
Test it: Click Connect → Choose IOTA Wallet → Success! You now see your address.
Part 3 – Implement the Sponsored Post Flow
In this section, we will transform a static UI into a functional, gas-less dApp. Instead of writing everything from scratch, we will start with a Scaffold that handles the UI and state, allowing us to focus entirely on the Gas Station logic.
1. Setup the Scaffold
First, ensure you have the starter code. If you haven't already, replace the contents of your src/App.tsx with the Scaffold Code found in this file:
ou can find the completed version of this code in src/reference/FullApp.tsx if you get stuck, but we recommend following the steps below to understand the flow.
2. Building the handlePost Function
Locate the handlePost function in App.tsx. We will now implement the logic across 8 distinct steps.
Step 1: Build the Transaction
We start by defining what we want to do on-chain. We create a Transaction object and add a moveCall to our deployed contract. Notice we don't worry about gas yet; we just define the action.
const tx = new Transaction();
tx.setSender(address);
tx.moveCall({
  target: `${PACKAGE_ID}::media::post_message`,
  arguments: [tx.pure.string(content)],
});
Step 2: Reserve Gas from the Gas Station
Before we can sign, we need a sponsor. We call our Gas Station API to request a gas reservation. The station will return a reservation_id and specific gas_coins it intends to use.
const gasBudget = 50_000_000;
const reserveRes = await axios.post(
  `${GAS_STATION_URL}/v1/reserve_gas`,
  { gas_budget: gasBudget, reserve_duration_secs: 400 },
  { headers: { Authorization: `Bearer ${GAS_STATION_AUTH}` } }
);

const { sponsor_address, reservation_id, gas_coins } = reserveRes.data.result;
Step 3: Attach Sponsor's Gas Data
Now we "glue" the sponsor's info to our transaction. This tells the network that while we are the sender, the sponsor_address is the gas owner.
tx.setGasOwner(sponsor_address);
tx.setGasPayment(gas_coins);
tx.setGasBudget(gasBudget);
Step 4: Build Unsigned Transaction Bytes
The Gas Station and the wallet cannot read the JavaScript tx object directly. We must "build" it into raw bytes using the IOTA SDK.
const unsignedTxBytes = await tx.build({ client });
Step 5: User Signs via dApp Kit
This is the moment the user sees a popup. They are signing the content of the transaction, but since we attached a sponsor in Step 3, they will see that the gas cost is 0 IOTA.
const { signature, reportTransactionEffects } = await signTransaction({
  transaction: tx,
});
Step 6: Execute via Gas Station
Instead of the user submitting the transaction, we send the user's signature and the transaction bytes back to the Gas Station. The station adds its own signature (co-signing) and submits it to the network.
const txBytesBase64 = btoa(String.fromCharCode(...new Uint8Array(unsignedTxBytes)));
const executeRes = await axios.post(
  `${GAS_STATION_URL}/v1/execute_tx`,
  {
    reservation_id,
    tx_bytes: txBytesBase64,
    user_sig: signature,
  },
  { headers: { Authorization: `Bearer ${GAS_STATION_AUTH}` } }
);

const txDigest = executeRes.data.effects.transactionDigest;
Step 7: Report Effects to Wallet
To keep the user's wallet state synchronized (so it knows the transaction was successful), we must report the effects back to the useSignTransaction` hook.
reportTransactionEffects(executeRes.data.effects);
Step 8: Update the UI
Finally, we update our local React state to show the new "Spark" and clear the input field for the next post.
setPosts(prev => [
  {
    content,
    author: address.slice(0, 10) + '...',
    txid: txDigest,
    timestamp: Date.now(),
  },
  ...prev,
]);
setContent('');
showToast('Spark posted on-chain!');
Explanation:
This is the complete sponsored transaction flow:
- User builds intent
- Reserves gas from sponsor
- Attaches sponsor’s gas objects
- Signs with wallet (IOTA Wallet popup)
- Gas Station co-signs and submits
- Success → on-chain forever!
3.3 Final UI with Textarea & Feed
Replace the return block with this beautiful final version (includes textarea, button, and feed).
return (
<div style={{ maxWidth: 600, margin: '40px auto', fontFamily: 'system-ui' }}>
<h1>Spark Mini</h1>
<p>Gas-free microblogging on IOTA testnet</p>
{!address ? (
<div style={{ textAlign: 'center', marginTop: 80 }}>
<h2>Connect your wallet to post</h2>
<ConnectButton />
</div>
) : (
<>
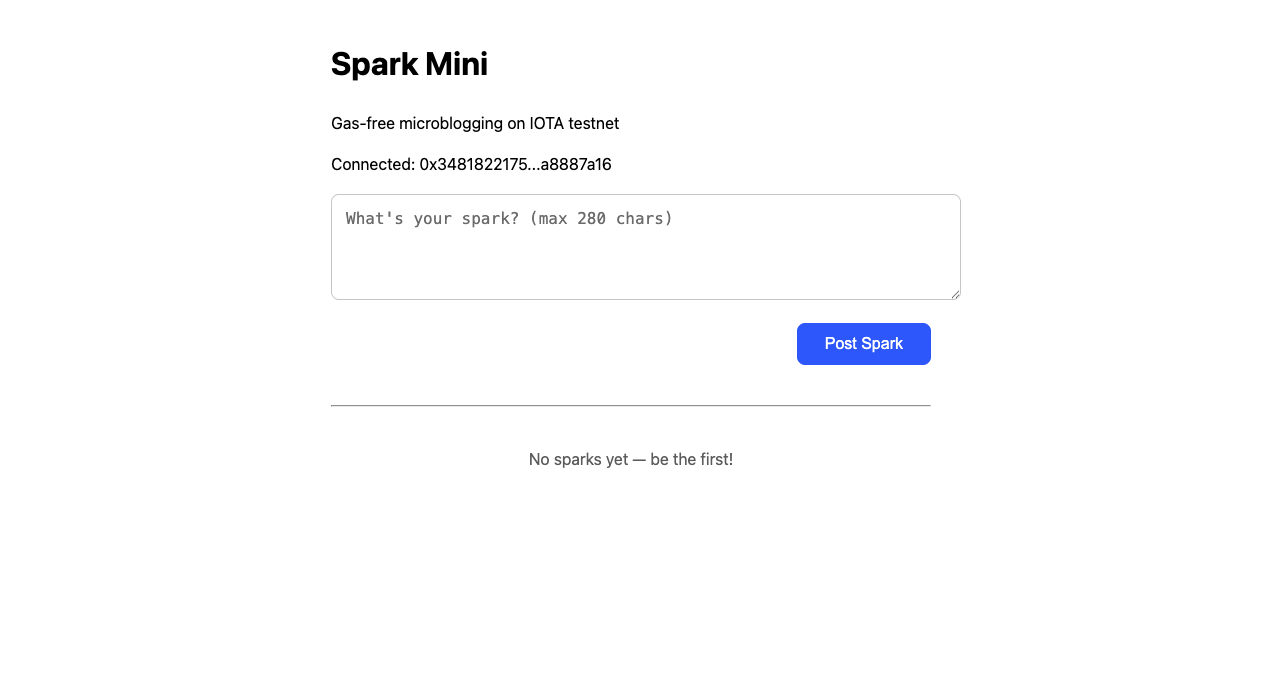
<p>Connected: {address.slice(0, 12)}...{address.slice(-8)}</p>
<textarea
value={content}
onChange={e => setContent(e.target.value)}
placeholder="What's your spark? (280 chars)"
maxLength={280}
rows={4}
style={{ width: '100%', padding: 12, fontSize: 16, borderRadius: 8, border: '1px solid #ccc' }}
/>
<button
onClick={handlePost}
style={{ marginTop: 12, padding: '12px 24px', background: '#0068FF', color: 'white', border: 'none', borderRadius: 8, fontSize: 16 }}
>
Post Spark
</button>
<hr style={{ margin: '40px 0' }} />
{posts.map((p, i) => (
<div key={i} style={{ padding: 16, border: '1px solid #eee', borderRadius: 12, marginBottom: 12 }}>
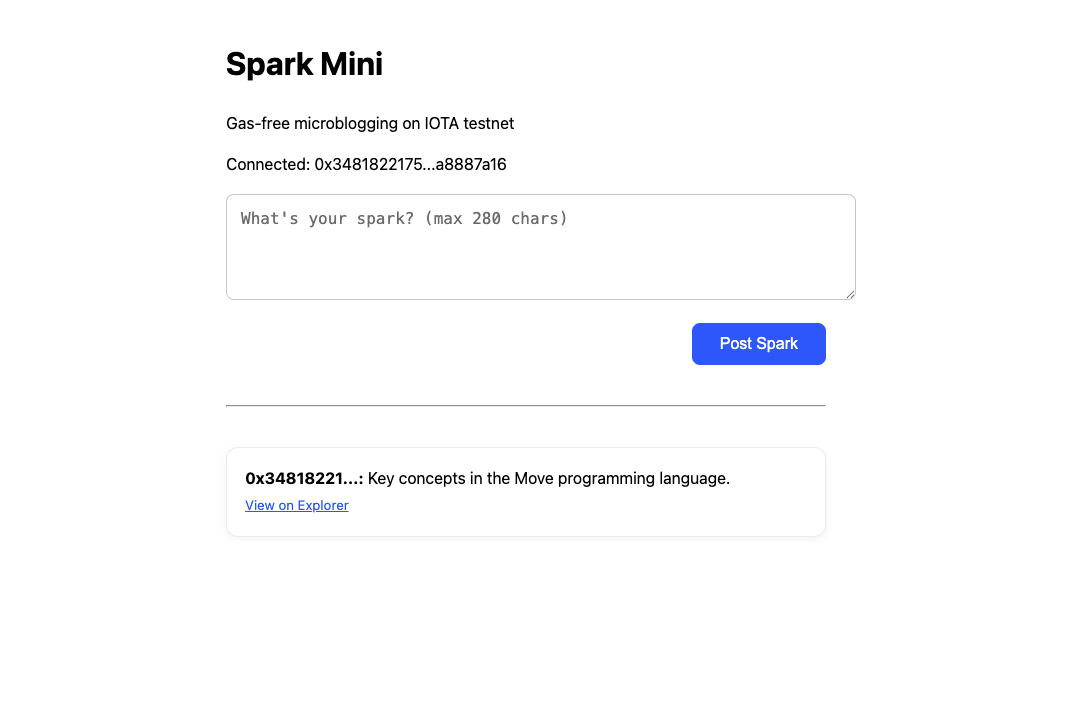
<strong>{p.author}:</strong> {p.content}
<br />
<small>
<a
href={`https://explorer.iota.org/?network=testnet&transaction=${p.txid}`}
target="_blank"
rel="noreferrer"
style={{ color: '#0068FF' }}
>
View on Explorer
</a>
</small>
</div>
))}
</>
)}
</div>
);
Explanation:
Clean, responsive UI with live feed and explorer links. Every post is permanently stored on IOTA testnet.
Final Test
npm run dev- Connect IOTA Wallet
- Type a message → Post Spark
- Approve in wallet
- Success! Your message appears + explorer link works